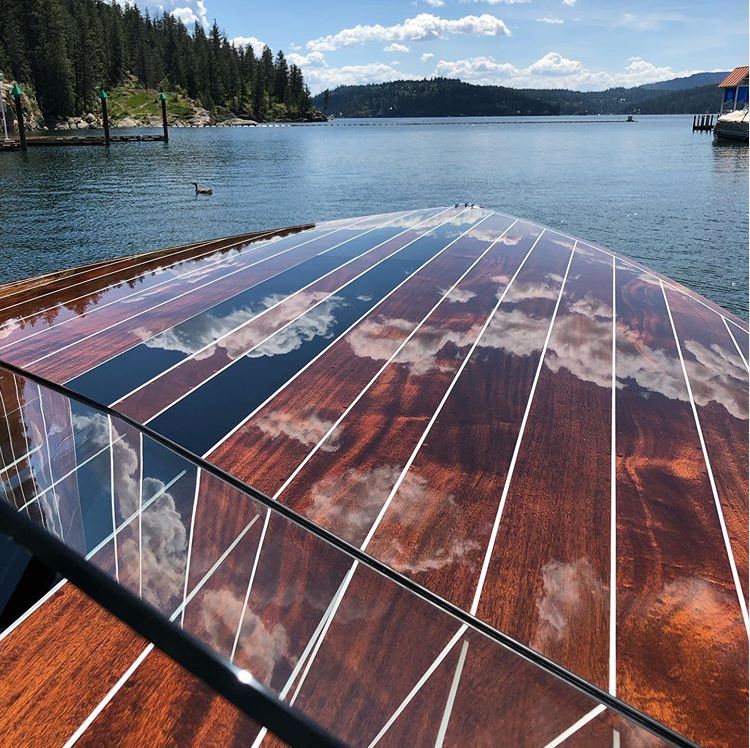
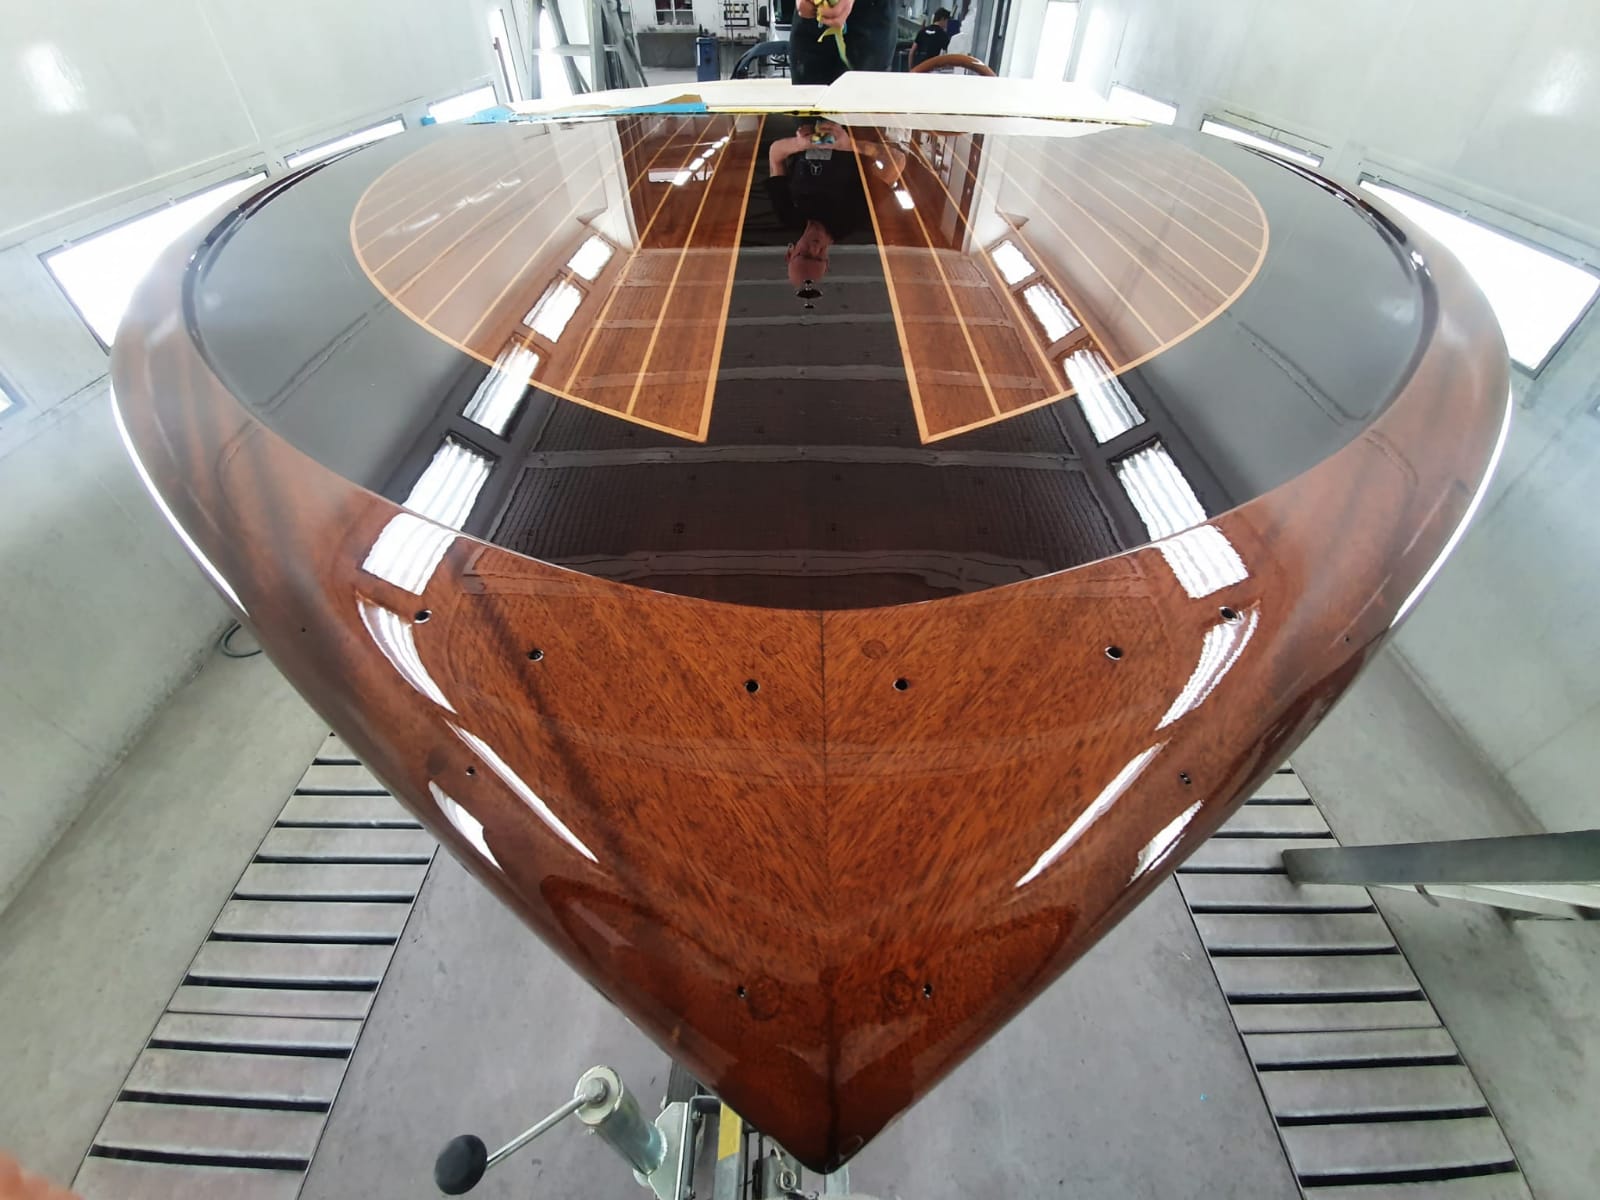
Varnishing a whole boat or any other wooden object like a mast, the boom or furniture may seem a lot of work. However, it is easier than you think and everybody can achieve a perfect long lasting finish with a good preparation and the use of the right Epifanes varnish. There is also a video available with all the information.
Step 1: Schedule and goals when varnishing a boat
Determine what you want to achieve. Varnishing a boat or a mast from bare wood takes more time than applying maintenance coats only. Are you able to work in a well-conditioned closed environment or are you working outside? Drying times during the winter months are much longer than under warmer conditions. Plan your varnish job well in advance and work step-by-step.
Step 2: Condition of the varnish
An Epifanes system can last for years or even more than a decade when it is well applied and has regular maintenance. It is important that you apply sufficient coats when building up the system and apply maintenance coats regularly. When the wood is previously varnished, you can judge the quality of the varnish by one of the following three points.
1. The varnish system only shows loss of gloss. In this situation you can clean and sand the surface and apply at least two or more new coats.
2. The varnish system looks poor, it shows loss of gloss and light crazing. In this situation the UV protection is completely gone. Now it is important to clean and sand down the varnish thoroughly and apply at least four or more new coats.
3. The varnish system is in a bad condition. In the last situation the old system should be removed completely and replaced by a new system from scratch.
Step 3: The difference between a one- and a two part varnish
A one-part varnish dries by drying additives when it comes into contact with air. A two-part varnish is a chemically drying paint. This varnish is tougher and stronger than a single pack, but the application is more demanding. It shouldn’t be applied outside, at temperatures below 12°C and when the air humidity is above 70%.
After sanding and degreasing, a single part varnish can be applied over a two-part poly-urethane based varnish. However, a two-part poly-urethane varnish cannot be applied on top of a one-part system. You can always test whether you have a one- or a two-part varnish. Take a piece of cloth saturated with acetone and place it on the surface for around 15 minutes. If the varnish starts to wrinkle and you can peel it off, you are dealing with a single pack system.
A growing varnish method is to fill and build up with a two-component varnish (Epifanes PP Varnish Extra) and finish with a one-component like the regular Clear Varnish. This combined varnish system will give you faster film building without the loss of elasticity and UV protection.
Step 4: Materials needed
Determine the required amount of varnish. Also ensure you have enough and the correct thinners. Do not forget necessary tools for the job, i.e. brushes, rollers, masking tape, abrasive paper, etc. and mind your personal safety (protective gloves/clothes, mouth cap, safety goggles). Saving money on brushes, thinners and sand paper will reflect in the quality of your work and increase the possible chance of failure.
Step 5: Surface preparation
A thorough surface preparation is time consuming but very important. In case of bare wood, degrease with Epifanes Cleaning Solvent. Change your towel regularly and sand the wood with P180. Degrease again with Epifanes Cleaning Solvent
Old layers can be degreased with Epifanes Spraythinner for P&V. This is the spraythinner for single pack paints. DO NOT USE THE EPIFANES PU SPRAYTHINNER. Again, change the towels regularly. Sand old coats thoroughly with P220-240.
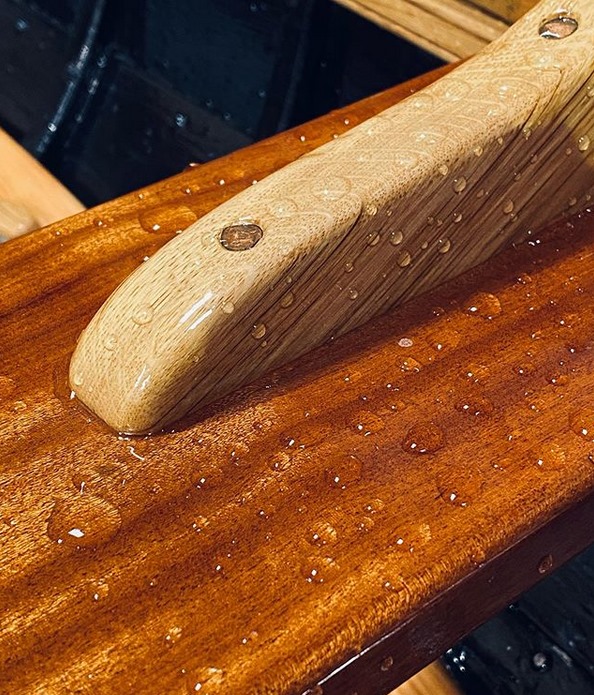
The classic Epifanes Clear Varnish is very easy to use and can be applied on almost every type of wood. You can also apply this product on top of every previously varnished surface no matter what brand. When building up a system from bare wood, it is important to thin the first coat by 50% for a good penetration into the wood. Thin the second coat by 25%. After two or three coats apply the varnish without any thinner to a minimum of seven coats. The more coats the better the UV protection and longevity. Light sanding or the use of a Scotch Brite between final coats is highly advised.
The Epifanes Woodfinish Gloss is a varnish-like finish similar to the traditional Clear Varnish. The major difference is the oil component in the Woodfinish Gloss. This makes it especially suited for oily and greasy woods like Teak and Oregon Pine. Another advantage is that you do not have to sand between coats if the subsequent coat is applied within 72 hours at 18°C. When applying, thin down the first coat by 25-50% and build up to a minimum of 6 coats. Again, the more coats the better the UV protection and longevity.
Epifanes Rubbed Effect Varnish is a satin varnish for interiors only. On the other hand we have the Epifanes Woodfinish Matte. This is also a satin varnish but contains a UV filter and it is therefore also suited for exterior use. However, in this case it is important to build up the system with a high gloss such as the Epifanes Woodfinish Gloss or Epifanes PP Varnish Extra before applying the satin varnishes. The high gloss builds-up much faster, but also gives a better protection in the underlying layers.
Those two varnishes are two-component finishes. They are the toughest varnishes in the Epifanes range. This is the ultimate varnish for tables, dashboards and other solid pieces of wood that need maximum protection. It is possible to polish the high gloss Poly-urethane varnish as well. For a satin fishing, build up with multiple coats of Epifanes Poly-urethane Clear Gloss before applying the Poly-urethane Clear Satin on top.
This is the fastest build up varnish possible. With Epifanes PP Varnish Extra you can apply up to 3 layers a day at 18 C without sanding between coats! This product perfectly penetrates the wood and has limited shrinkage. After building up with multiple coats of PP Varnish Extra, you have the option to continue with the single pack Epifanes Clear Varnish (one-component) or the Epifanes Poly-Urethane Clear Gloss (two component) for the maximum UV protection. The PP Varnish Extra should always be overcoated with a product with higher UV protection. The Epifanes PP varnish alone is not enough. For exterior use Epifanes PP Varnish alone is not enough.
Step 7: Apply the full varnish system
After choosing the right product and system for your job, it is essential to apply the minimum required number of coats. In Northern Europe with generally lesser UV exposure a system should exist of at least 7 coats, where the first 2 or 3 coats are only impregnating the wood. The real protection comes from the final 4+ coats. It might be needed to apply more than 7 coats if the varnish is applied on horizontal surfaces or walking area's. In Southern Europe and Southern states of the USA we notice a higher UV exposure. There we recommend to apply 12 coats. In these warmer climates maintenance intervals have to be shortened. Here you will find all Epifanes varnish systems explained in more detail.
Step 8: After the work is done
After application, allow the varnish system sufficient time to harden. Make notes about the used products and quantity for future reference. But most important, do not postpone maintenance, but apply fresh varnish coats once loss of gloss is noticed. This helps a varnish system to withstand the forces of nature.