Painting a fiberglass boat is not difficult at all. It is only important to follow the right steps. In this blog you will read all tips & tricks on how to paint a GRP boat with Epifanes. You can also watch the instruction videos on how to apply a one-component paint system or a two-component paint system.
Fiberglass gets older.
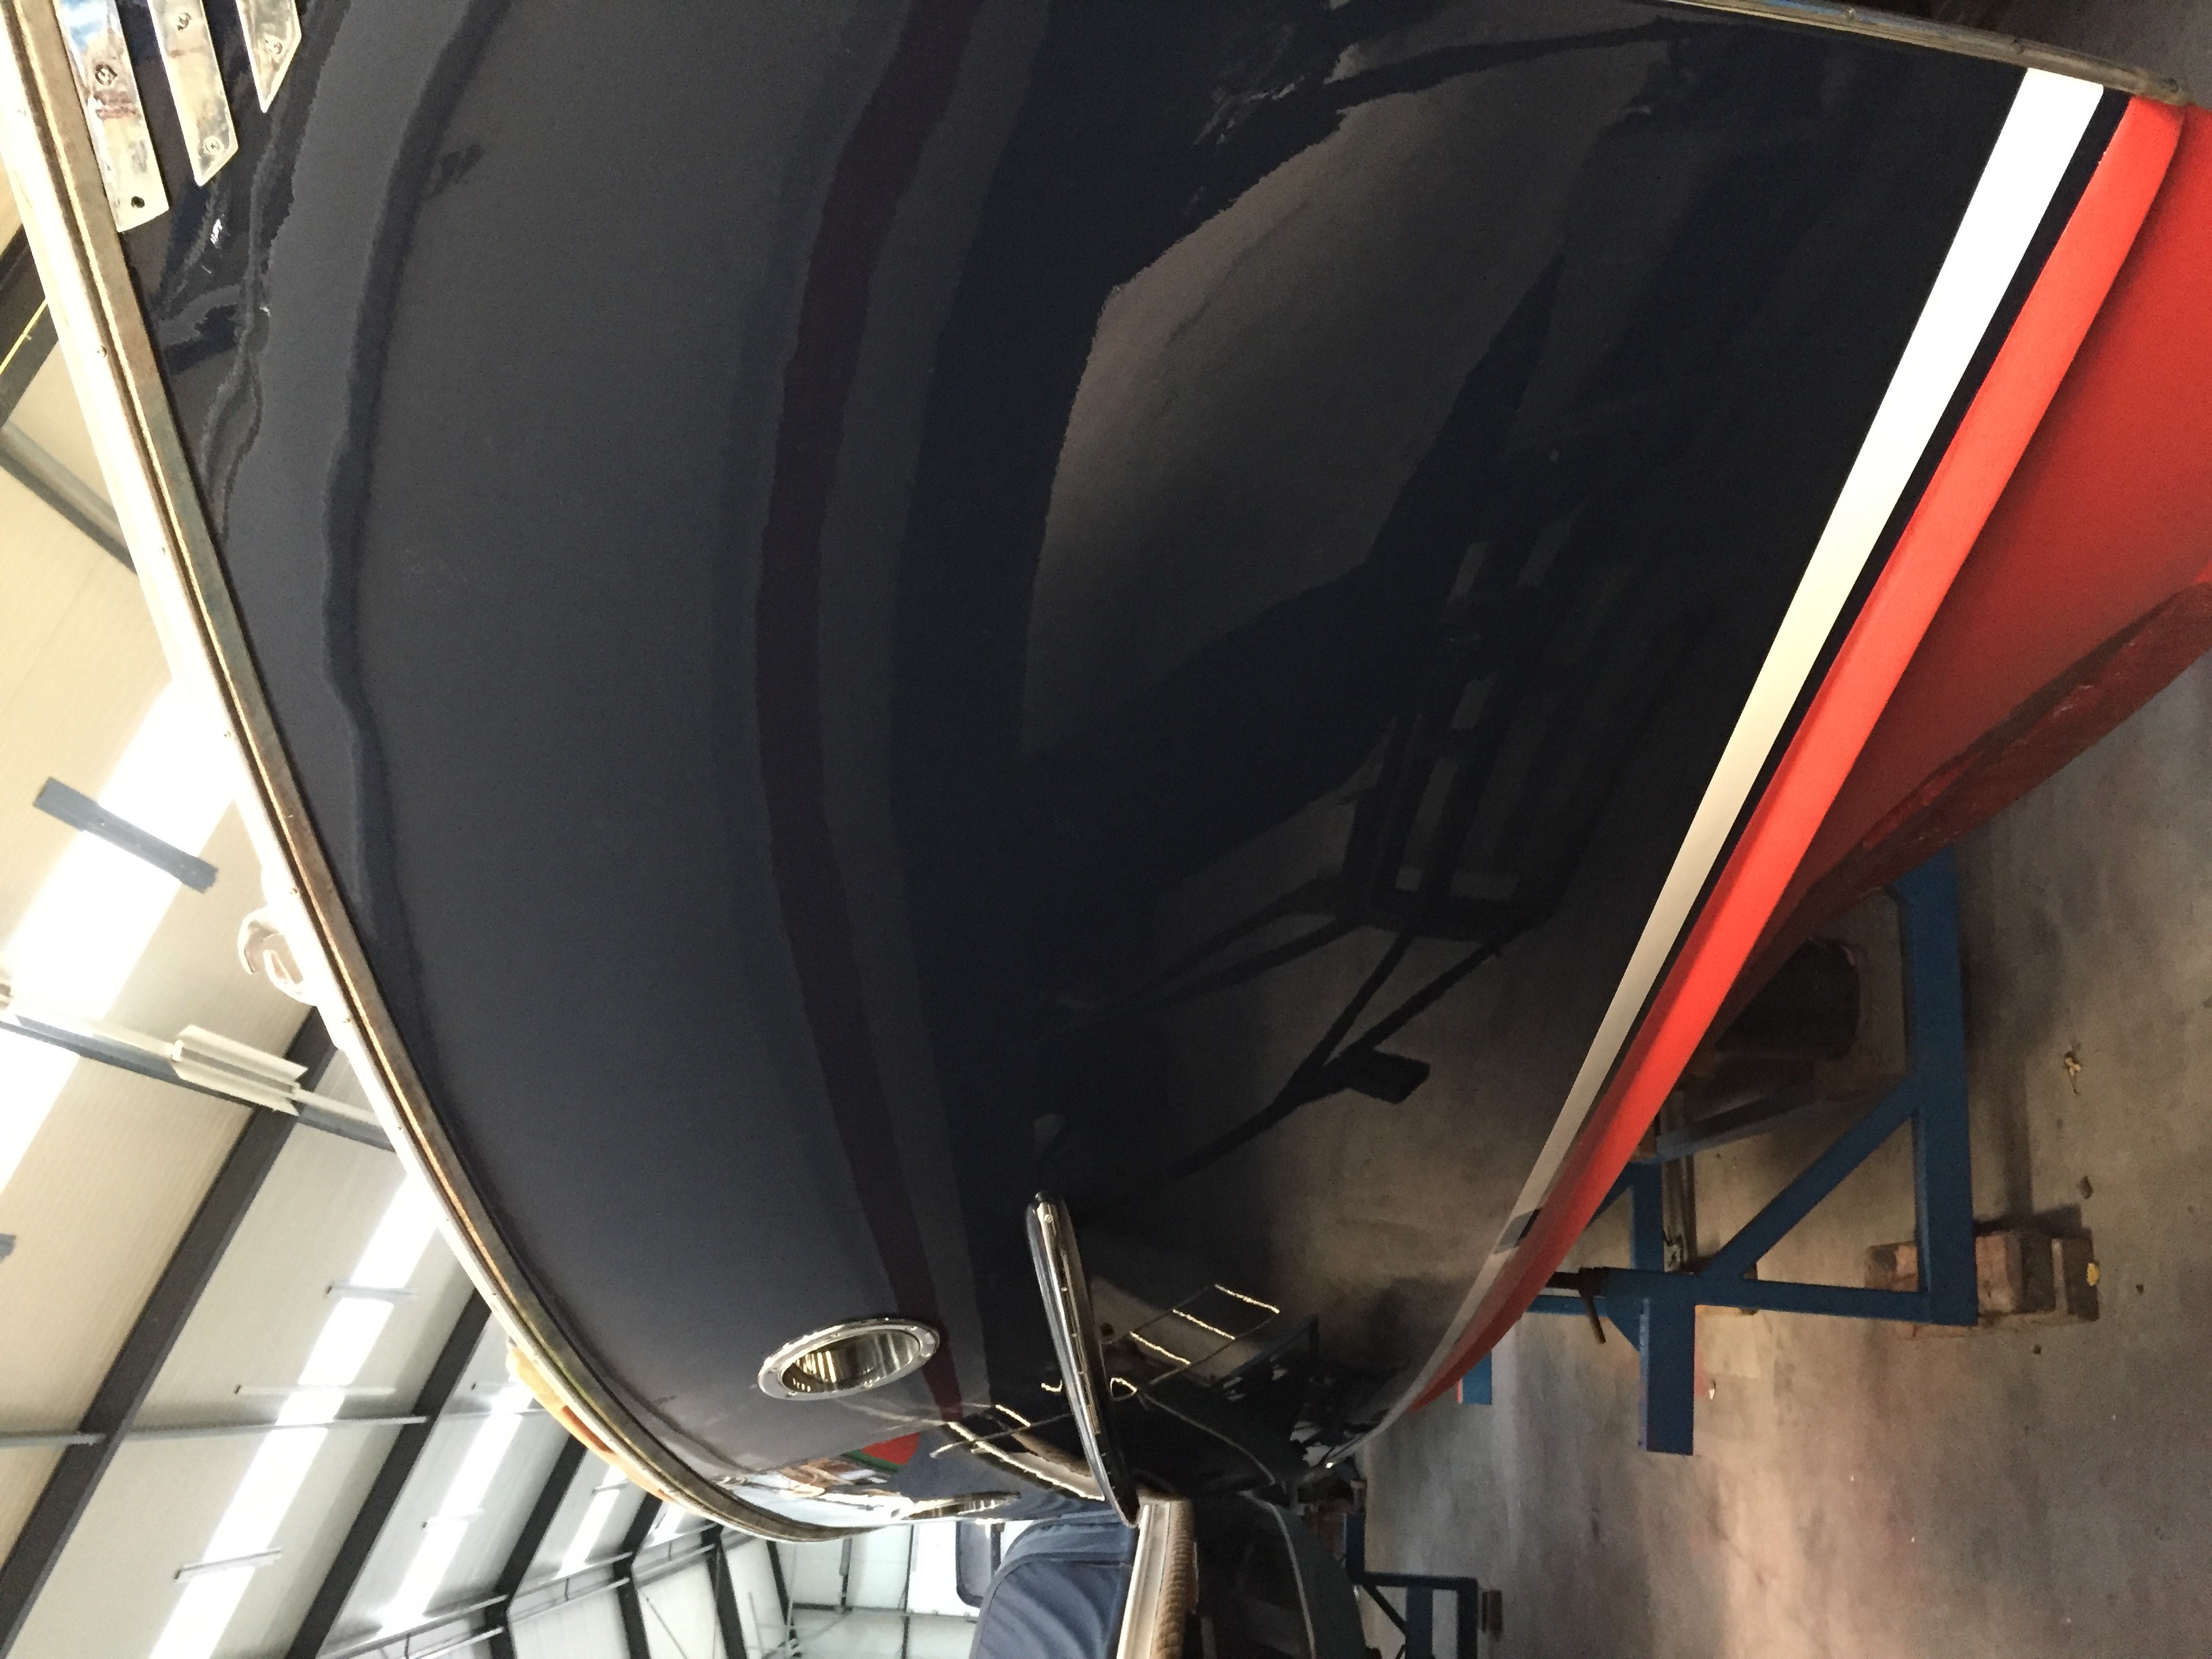
Normally you do not paint a new fiberglass boat. The gelcoat will protect the underlaying GRP structure. However, after a number of years the gelcoat gets older and loses gloss. You can restore the gloss by polishing and this saves you from painting for a couple of years. When the gelcoat gets really old, it won’t be possible to restore the surface with polishing. In this case you have to start painting.
Step 1: The preparation of the gelcoat.
Clean the fiberglass with water and ammonia first. The second stage is to clean the gelcoat with an appropriate cleaner like Epifanes Fibreglass Prep Cleaner. This removes all (silicones)waxes that have been used. Always clean before you start sanding. This is essential to prevent rubbing wax into the scratches.
Sand the gelcoat with a medium sandpaper grit 180 and degrease once more. Smaller reparations like blisters and small cracks can be done with Epifanes Fibreglassfiller. Larger holes can be fixed with Epifanes Epoxy Filler 1500. In case you are using filler, always use a primer to seal the filler a.s.a.p. This prevents moisture entering the filler layer.
In Step 2 we describe the situation when the GRP boat has been painted before. You can go to step 3 if you are painting your boat for the first time.
Step 2: What type of paint is on my boat?
In some cases your boat has been painted before. In this case it is important to know what type of paint has been applied on your boat. A two-component poly-urethane paint can only be applied if the existing paint system is two-component based. A one-component yacht paint, i.e. Epifanes Mono-urethane and Epifanes Yacht Enamel can be applied on all previously painted surfaces.
You can simply test what type of paint is on your boat. This is done by placing an Acetone saturated with Acetone lint free cloth on the surface for 10 minutes. If the paint starts to wrinkle, you are facing a one-component paint which can only be re-painted with a single pack paint. You have a two-component paint system when the finish remains intact. Now you can apply either a one- or a two-component paint.
Step 3: How do you choose between a one- or two-component paint system?
A one-component paint such as Epifanes Mono-urethane and Epifanes Yacht Enamel dries through drying additives that react with air. This type of paint provides easy application and flows out beautifully under various conditions. The elasticity makes this type of paint suited for working structures. The maintenance with a single pack product is far easier than with a two-component paint.
A two-component Poly-urethane paint is chemically drying. This paint is tougher and stronger than the one-component paint, but the application is more difficult and demands specific working conditions.
A two component paint system can only be applied when the boat is indoor, the temperature is above 12°C and a relative air humidity is max. 70%. A one component paint system is a better option when you cannot get these working conditions.
Step 4: Materials needed
Determine the type of paint and colour. Calculate the required amount of paint using the Epifanes app. Note that the paint calculations are mentioned for one coat only!
On the bottom of each can you can find a 6-digit batch code. Try to use the same batch for painting a specific surface. If this is not possible, mix both batches together. This will avoid small potential colour differences.
Also ensure to have enough and the correct Epifanes thinners and cleaners. Do not forget necessary tools for the job, i.e. brushes, rollers, masking tape, good quality abrasive paper, etc. and mind your personal safety (protecting gloves and clothes, mouth cap, safety goggles). Saving money on material will increase the possibility of a disappointing result.
Step 5: Surface preparation
A thorough surface preparation is time consuming. In case of the gelcoat, start with water an Ammonia and thereafter degrease with Epifanes Cleaning Solvent or Acetone.
Continue by sanding the surface with grit 180. After sanding, degrease once more with Epifanes Fibreglass Prep Cleaner.
Old paint layers can be degreased with Epifanes Spraythinner for P&V. This is the spraythinner for single pack paints. Do not use aggressive two-component thinners or acetone for cleaning old paint layers. They can affect the paint system. Change (paper) towels regularly. Sand the old coats thoroughly with grit 220-240.
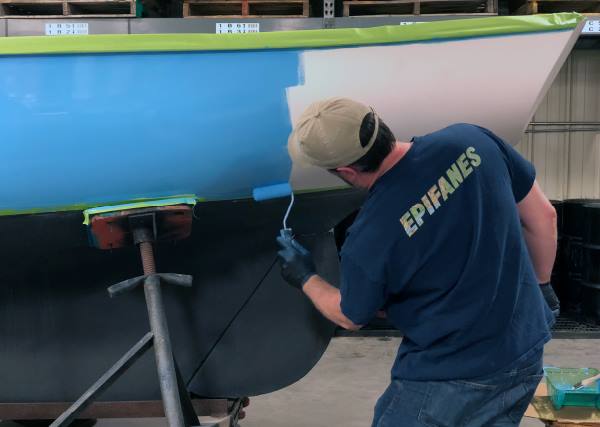
Step 6: Application of the primer (Go directly to step 7 if you don’t need to apply a primer)
Epifanes has various primers available. The most common one-component primer is Epifanes Multi Marine Primer. This fast-drying primer provides excellent filling properties and a good preservation on all surfaces above the waterline.
Epifanes Epoxy Primer and Epifanes Epoxy HB Coat are epoxy based primers. These two-component primers are very tough and give the best long-term protection. Professionals normally apply around 2 layers of primer. Due to the toughness of the primer, they commonly apply a Poly-urethane Primer before applying the top coat. The Poly-urethane Primer is very easy to sand and gives a good adhesion for the final top coat.
For deep penetration into the gelcoat, it is important to thin the first coat by 25%. Apply at least 2 primer coats for sufficient protection. After curing, it is important to sand each primer coat thoroughly with grit 180 before applying a topcoat. Sanding will create a good adhesion between primer coats and topcoat. A lack of sanding will lead to bad adhesion and might even de-adhere final coats.
Step 7: Choosing the correct paint.
Earlier the difference between one and two component paints was covered. Underneath we describe the difference between some paints.
This traditional one-component yacht enamel is very suitable for painting above the waterline. This classic alkyd paint flows very well and can be applied by anyone. In addition, it is available in 45 traditional colours.
This modern one-component high gloss yacht paint is very suitable for various surfaces above the waterline. Due to its urethane base, it is much harder and more durable than Epifanes Yacht Enamel. The paint can be used indoors and outdoors from 5 degrees Celsius. Mono-urethane yacht paint is available in 24 modern colours. Special mixes, i.e. RAL colours can also be obtained through your local Epifanes dealer. This paint is very suitable for every boat, but is also suitable for use in and around the house.
3. Epifanes Satin Finish and Epifanes Enamel Flat black
Standard Satin Finish is available in white. On request also available in all other colours. As the name suggests, this paint has a pleasant semigloss finish. This makes it very suitable for interior use, but it can also be used outside over a surface painted with a high gloss paint.
Epifanes Enamel Flat black is a very matte black paint. This paint can be used both inside and outside. This matte lacquer with only 10% gloss is great for a modern look. In addition, it can also be used on stairs, railings or facades.
This two-component paint is standard available in 24 modern shades. It is also possible to order special mixes , i.e. RAL colours, in both gloss and satin.
With the correct primer, this is the strongest topcoat, but also the more demanding paint for the processor. With this yachtpaint a suitable protective mask should be worn during processing.
Step 8: Planning
Planning is essential for a good end result. Make a paint schedule that is doable under current working conditions. Drying times increase when it is colder. So always take this information in account when you make a schedule.
When there are fillers used, always apply a primer coat first (25% thinned) directly when the filler is dried. This prevents moisture penetrating the filler. If this is not done, you have a chance that the whole filler will come off later in the season.
Step 9: Expect a setback.
Even if all the preparations have been made and the planning is more than adequate, assume that something could go wrong. Do not be put off by this, but try to solve the problem immediately. This prevents you from doing unnecessary work. It would be even more annoying if the paint detaches from the substrate because you have not solved the problem. Then it will only take even more time.
Step 10: Enjoy painting!
Preparing and painting takes time and energy. Still, a painting job can make you feel relaxed. Especially when the job is done, the end result can make you feel good and proud. If you follow the above steps properly, you will definitely achieve a top result!